Installation
Setup Wizard
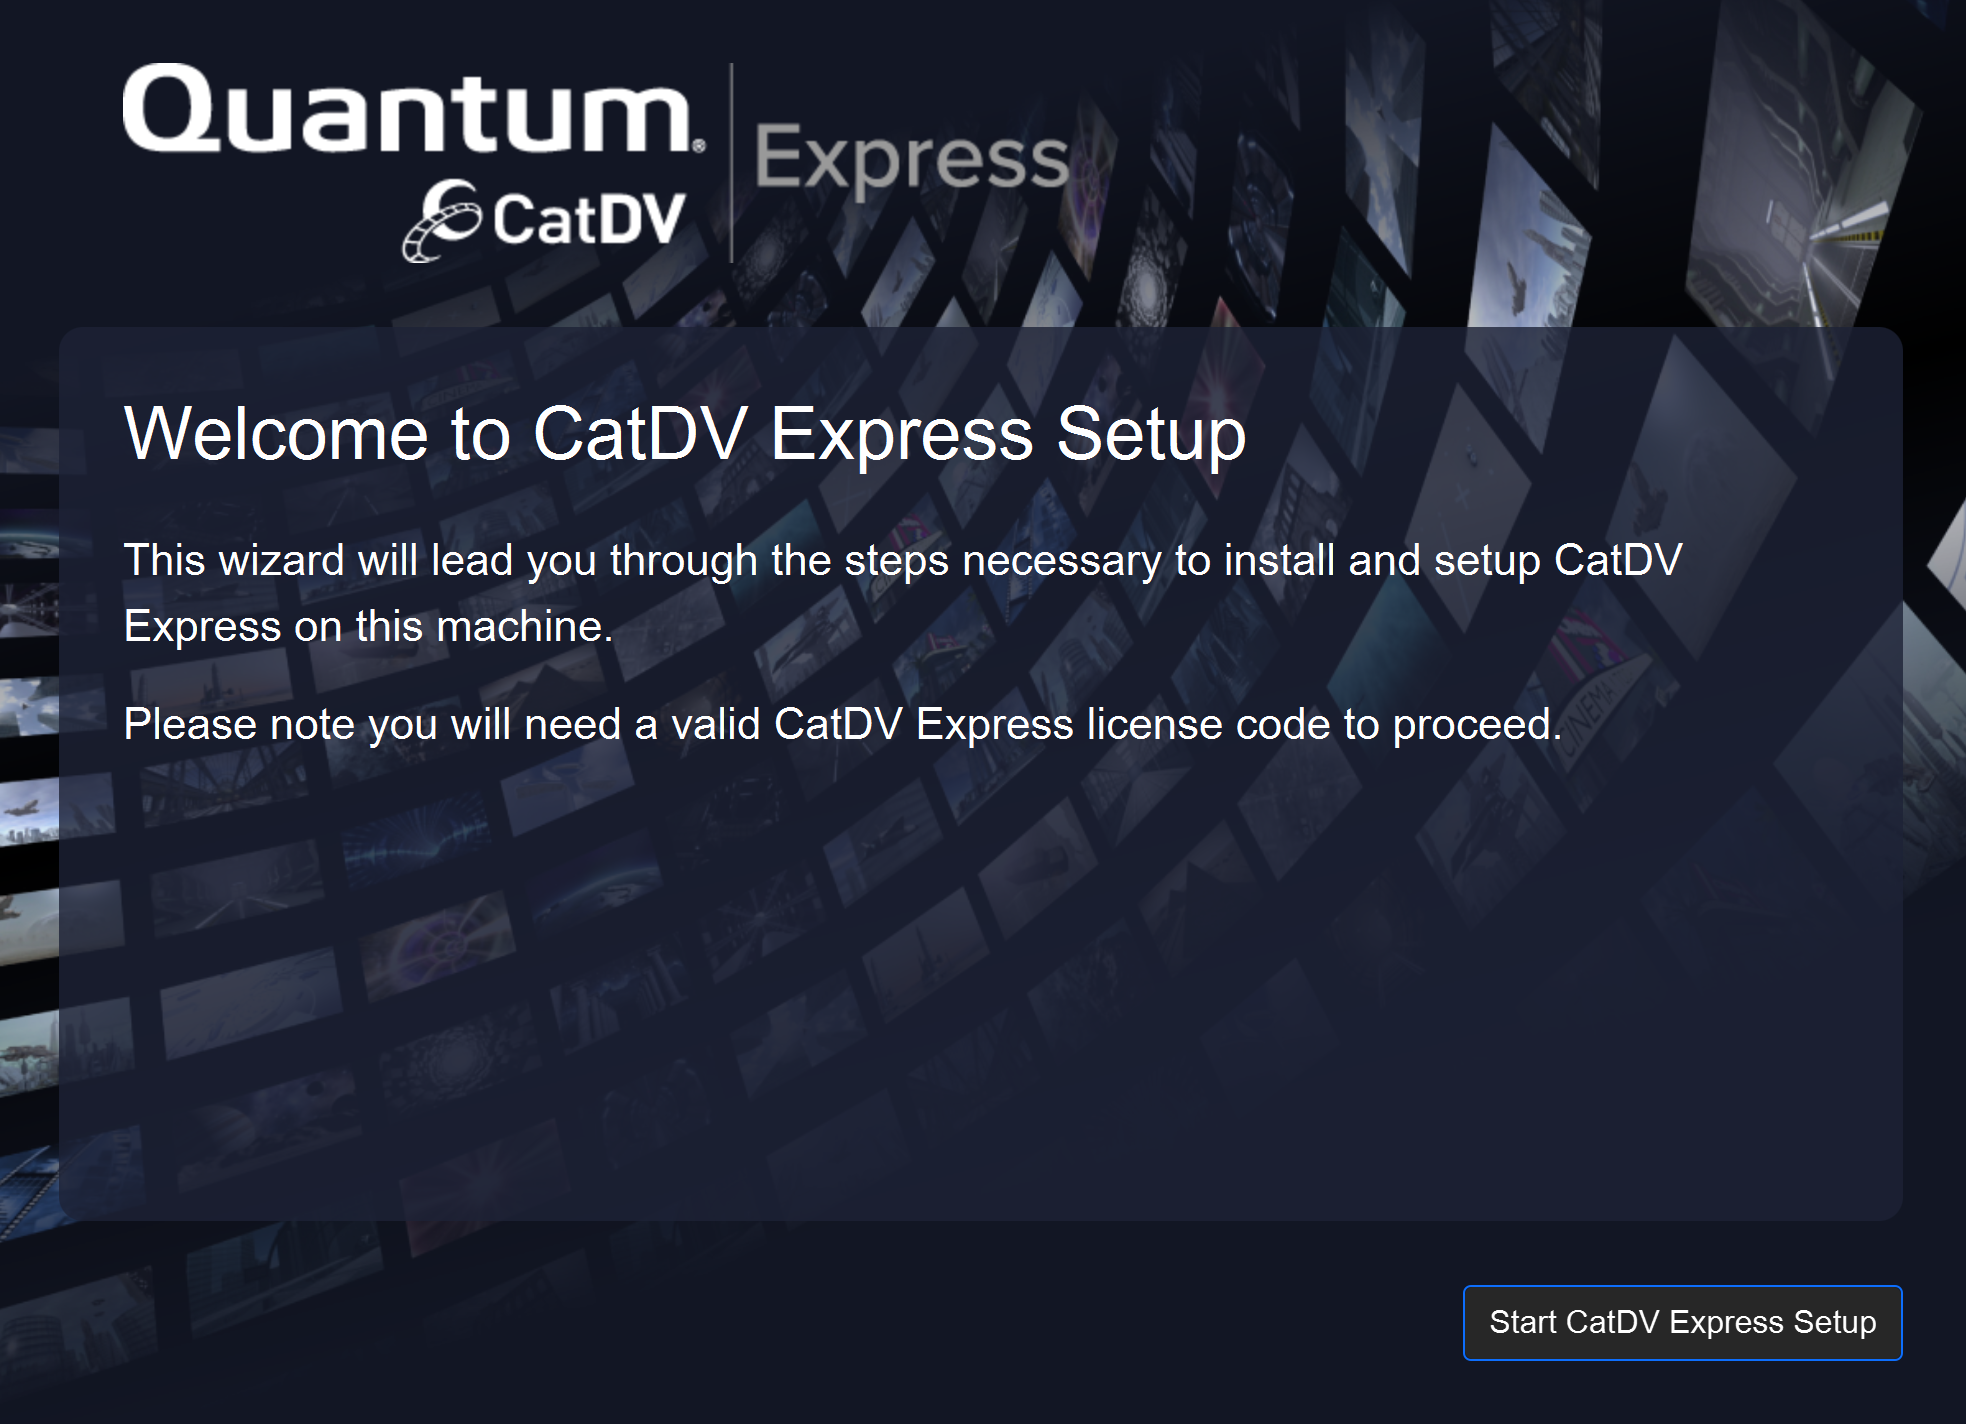
Download and run the CatDV Express installer. This will automatically launch the CatDV Express Setup Wizard, which will guide you through the steps necessary to install and configure CatDV.
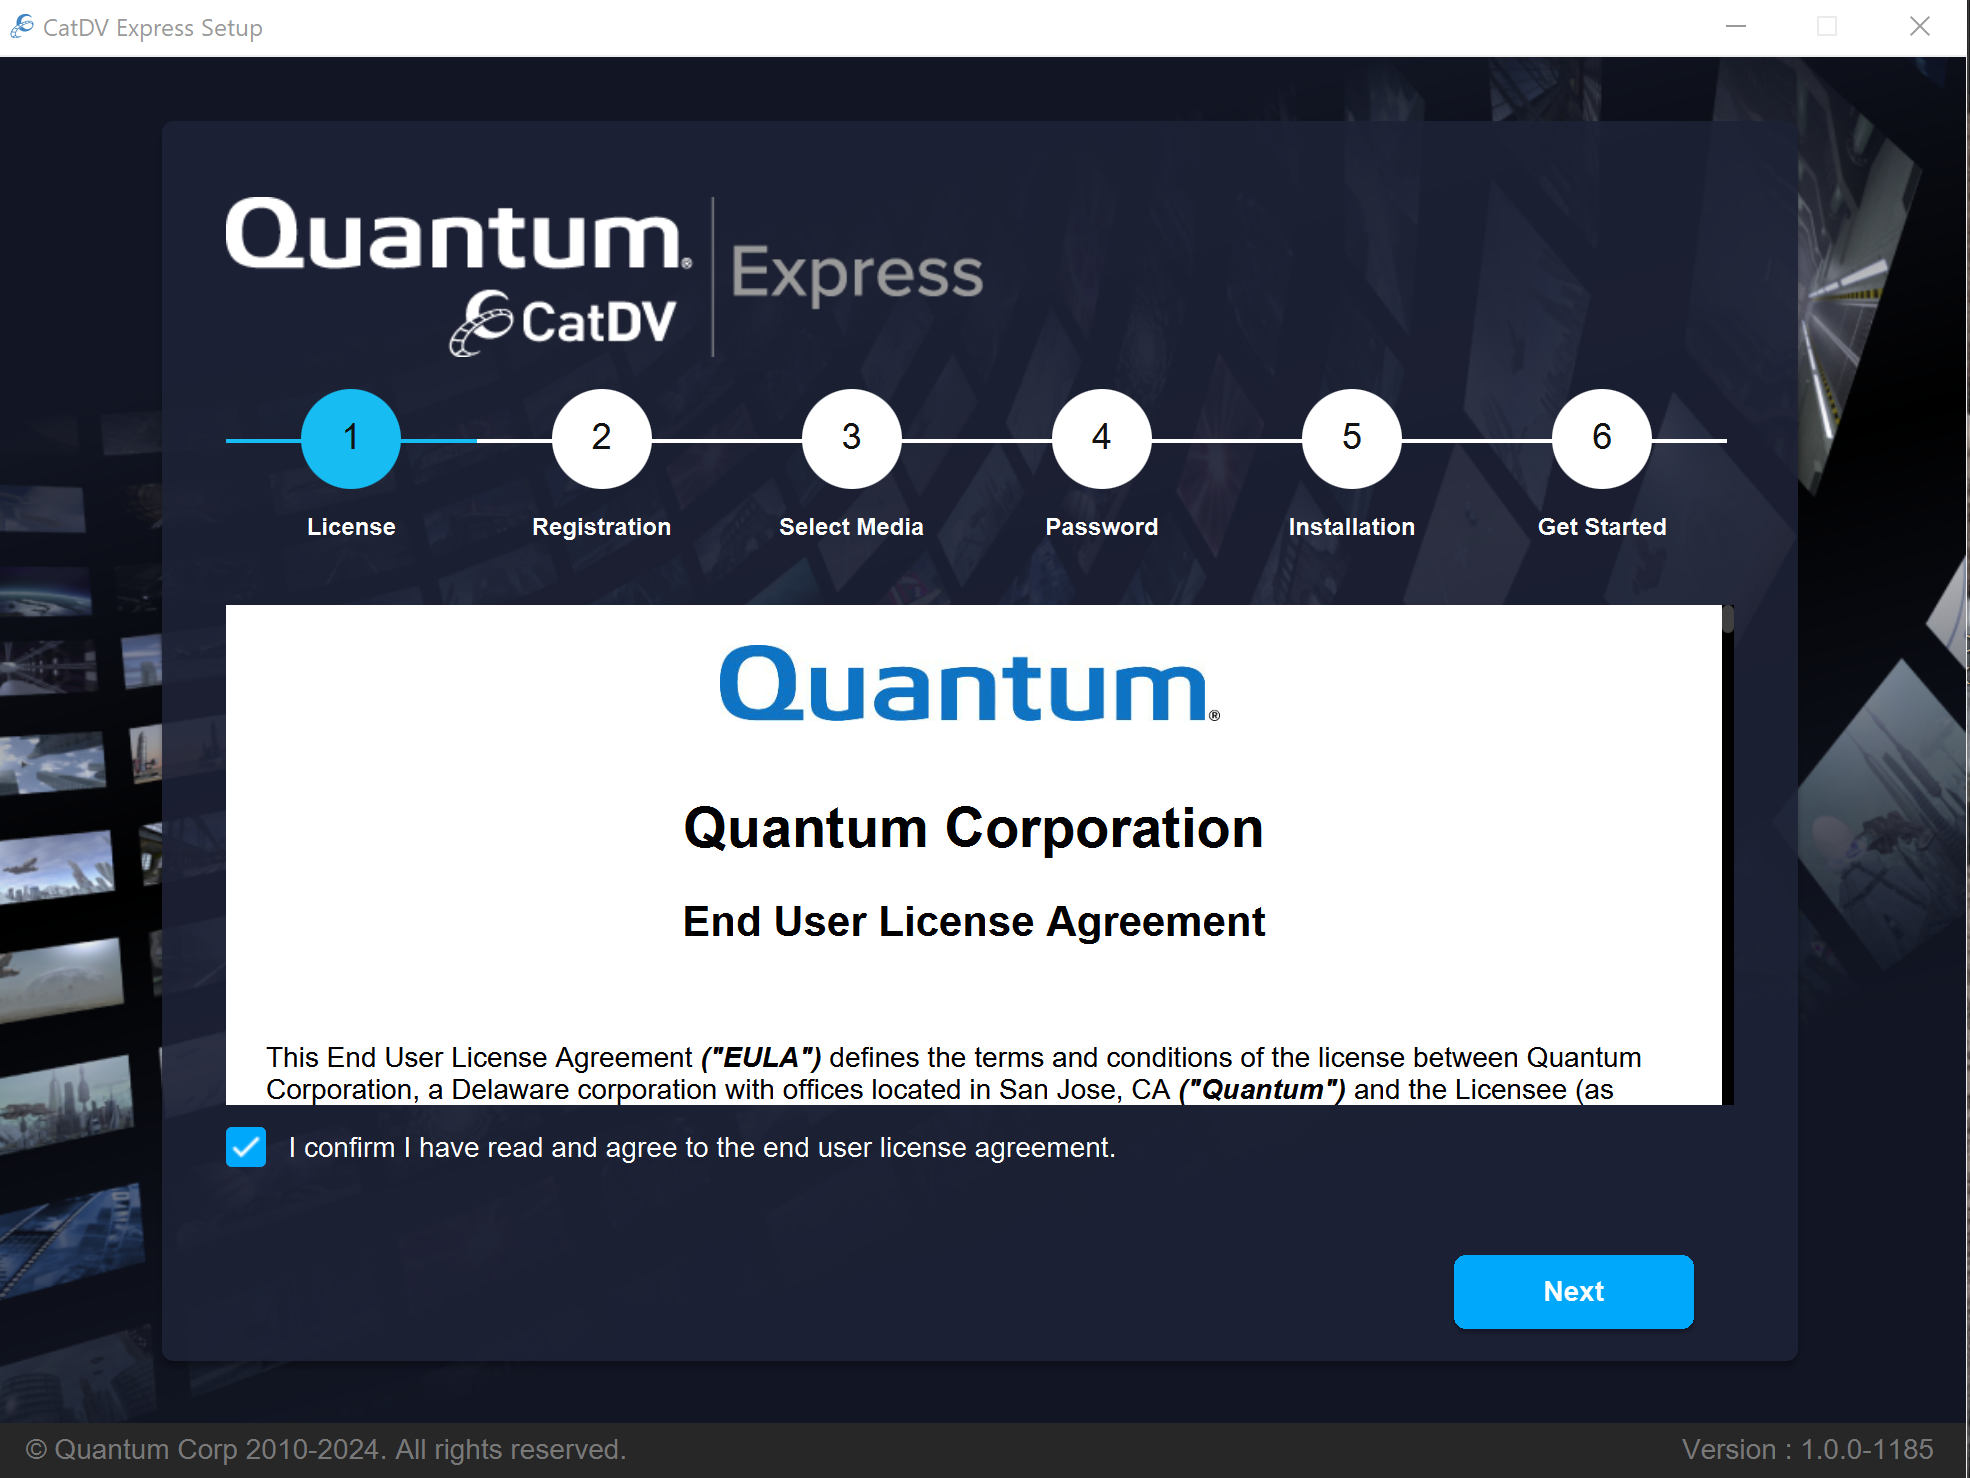
Step 1 – License Agreement
You must check the box to indicate that you accept the license agreement. Then click Next.
Step 2 – Registration
You will need a CatDV Express license code in order to install CatDV Express. You should receive this from your sales representative. The registration document will contain a ‘Registration Name’ and a ‘Registration Code’. You must enter these exactly into the fields below.
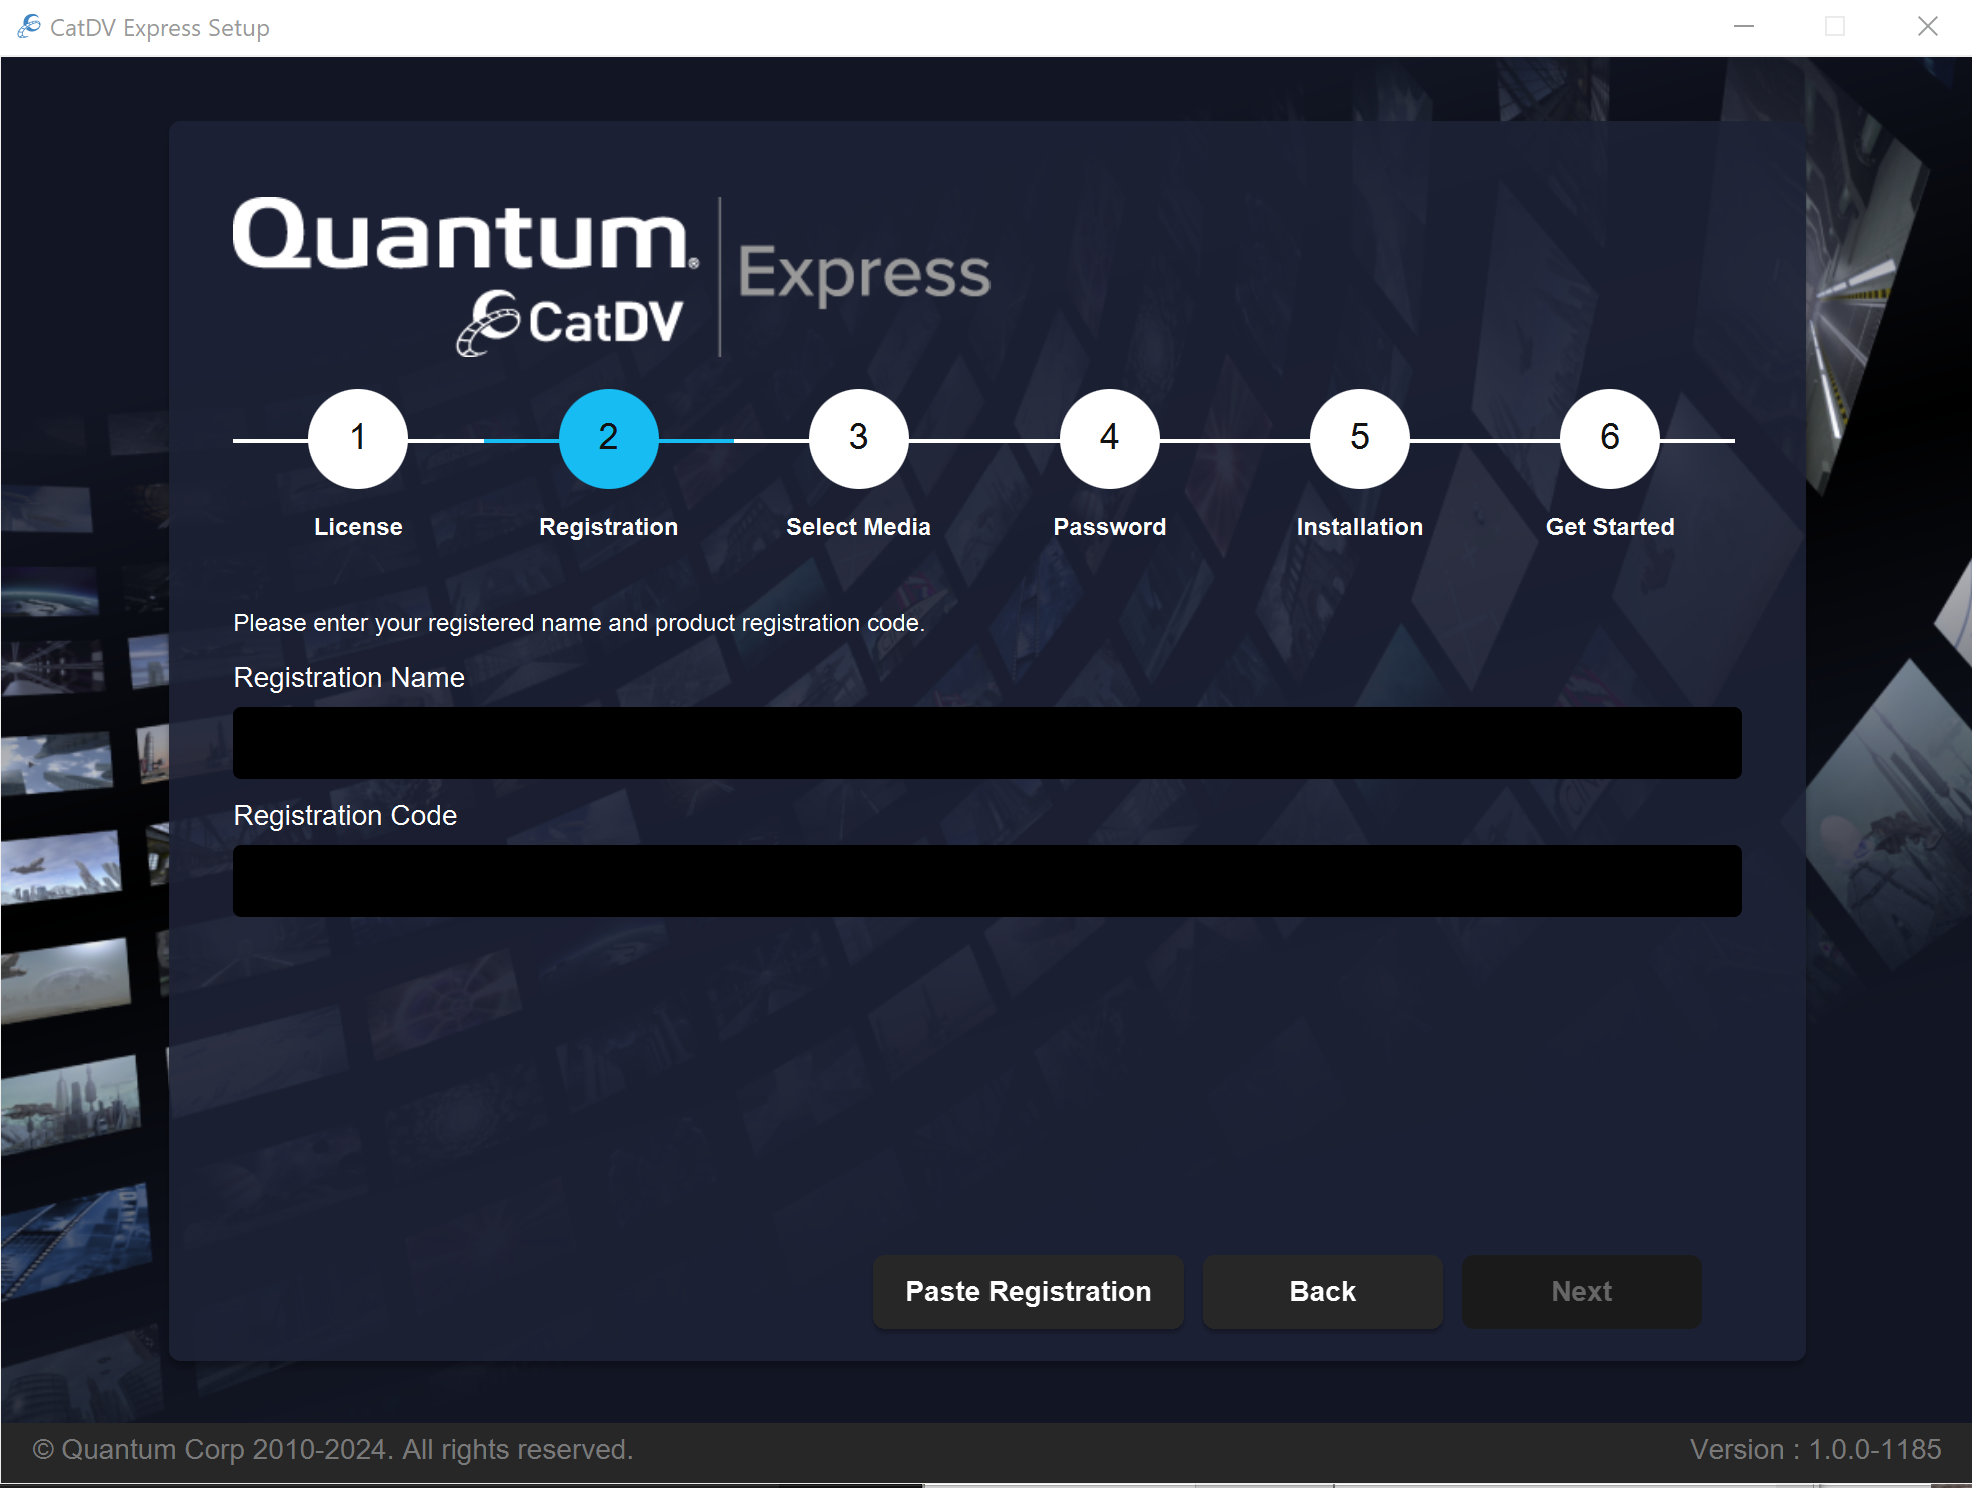
Note: You can also select all the text in the registration document and click the ‘Paste Registration’ button, which will extract the relevant information from the registration document and fill in the fields.
Once you have entered a valid code you can press Next to continue.
Step 3 – Volume Setup
The next step is to select the initial folder that contains the media assets that you want CatDV to index. Note: you will be able to add more media folders later on.
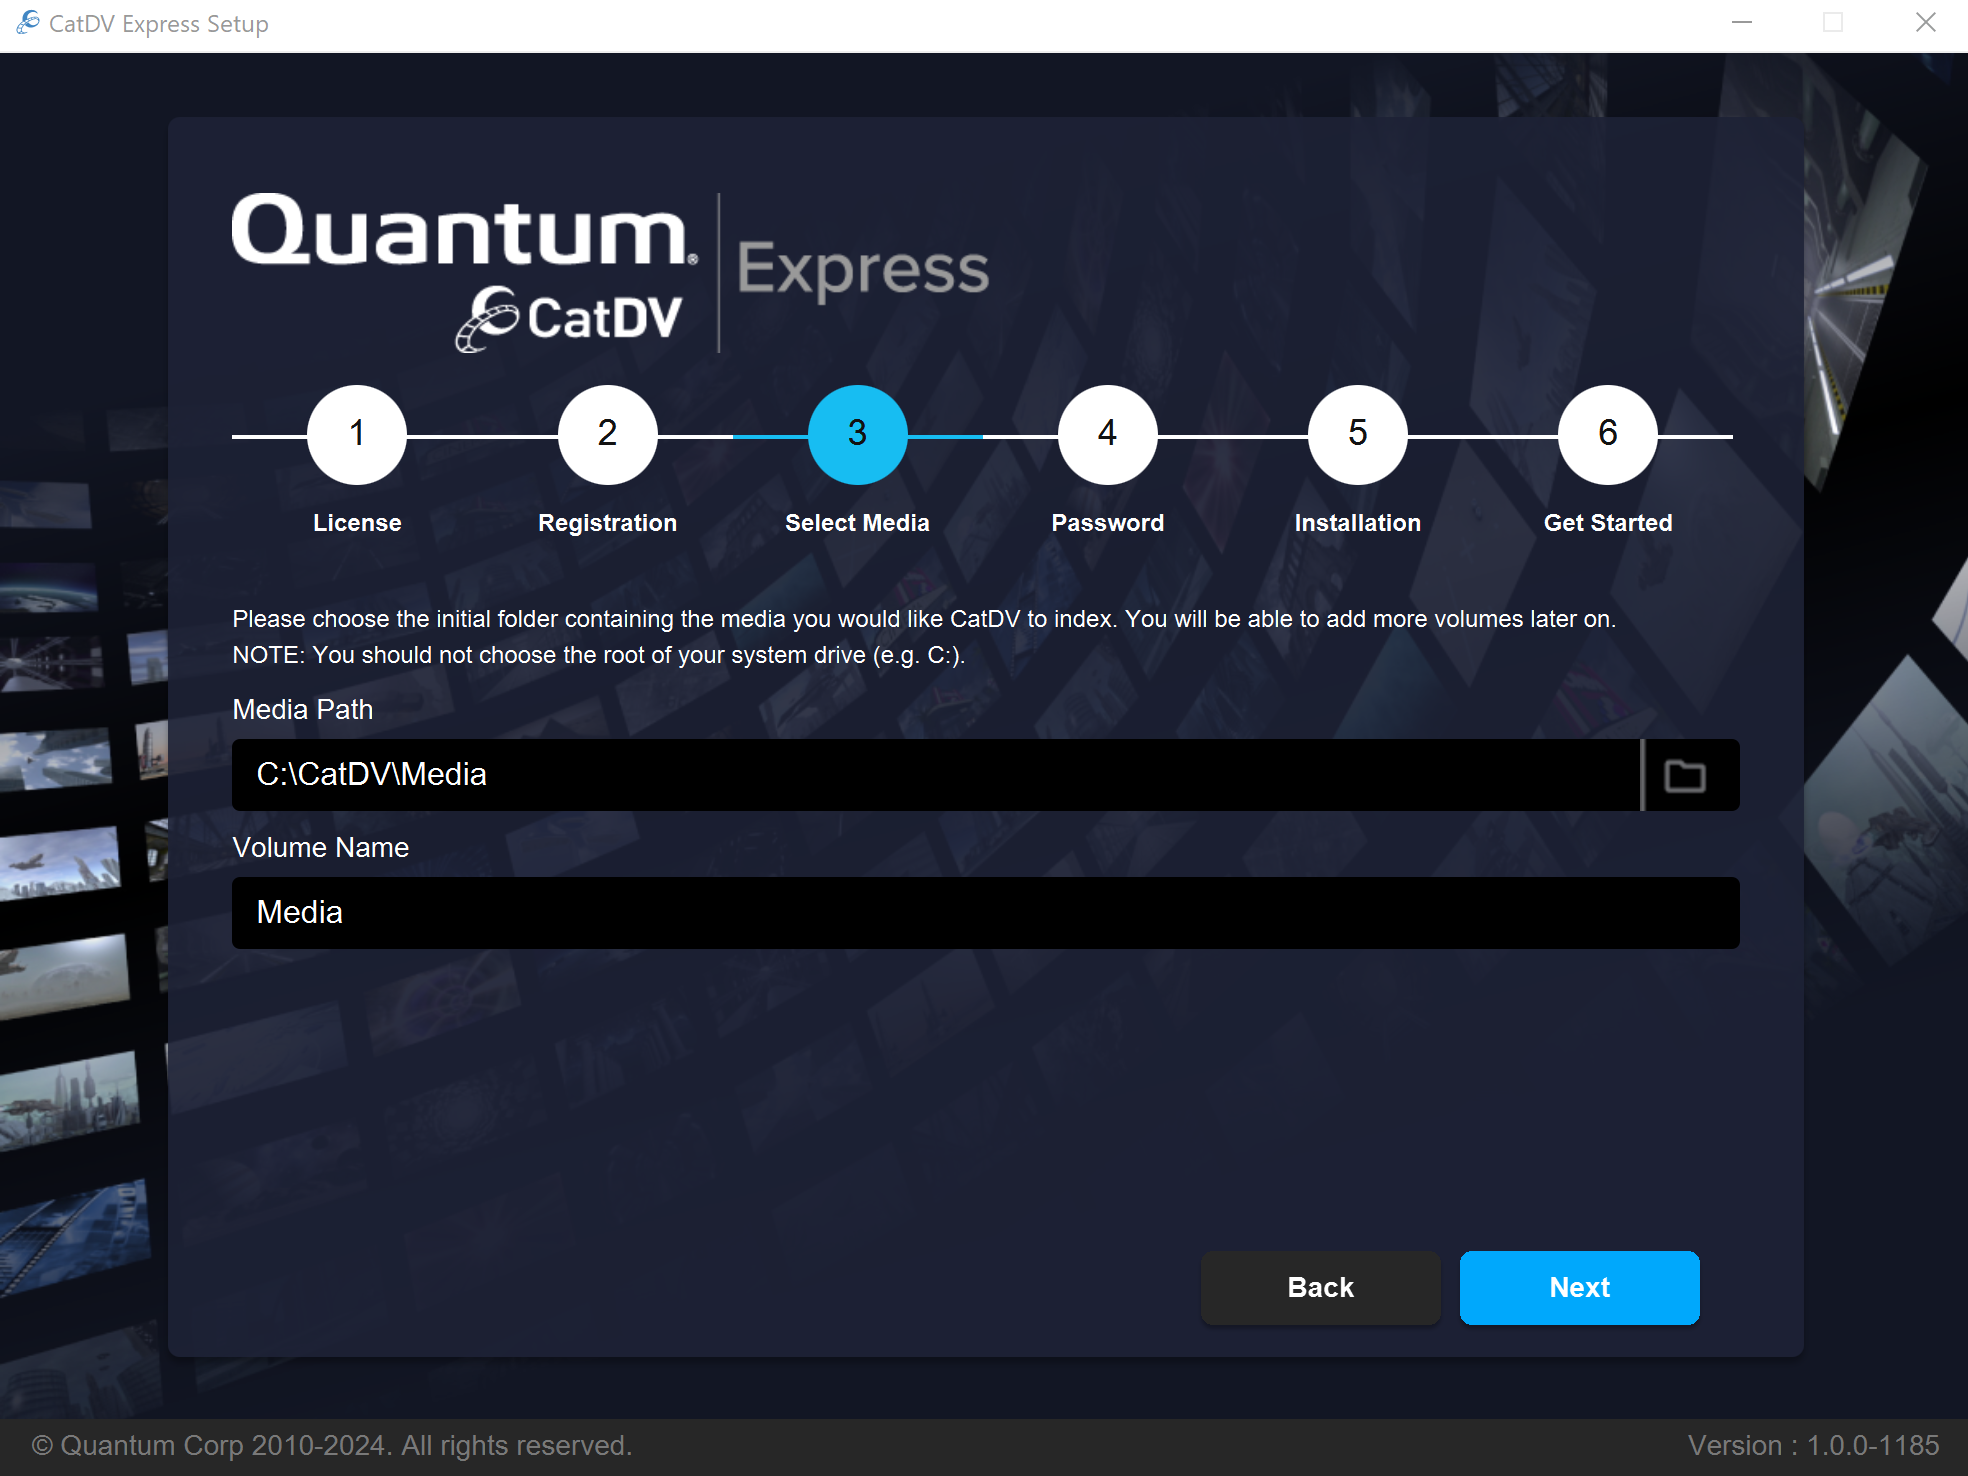
The folder you choose should contain just media assets, and must be writable by CatDV, as CatDV will need to create a ‘.catdv’ folder inside the selected media folder, where it can store it’s working files (such as web-playable proxy versions of video files, and backups).
When you select a media folder CatDV Express setup will automatically fill in the ‘Volume Name’ field based on the name of the folder you select. However, you can choose a different name if required. The name chosen will be how the volume will appear in the CatDV user interface.
Step 4 – Administrator Password
You will need to choose a password for the CatDV Administrator user (aka ‘admin’).
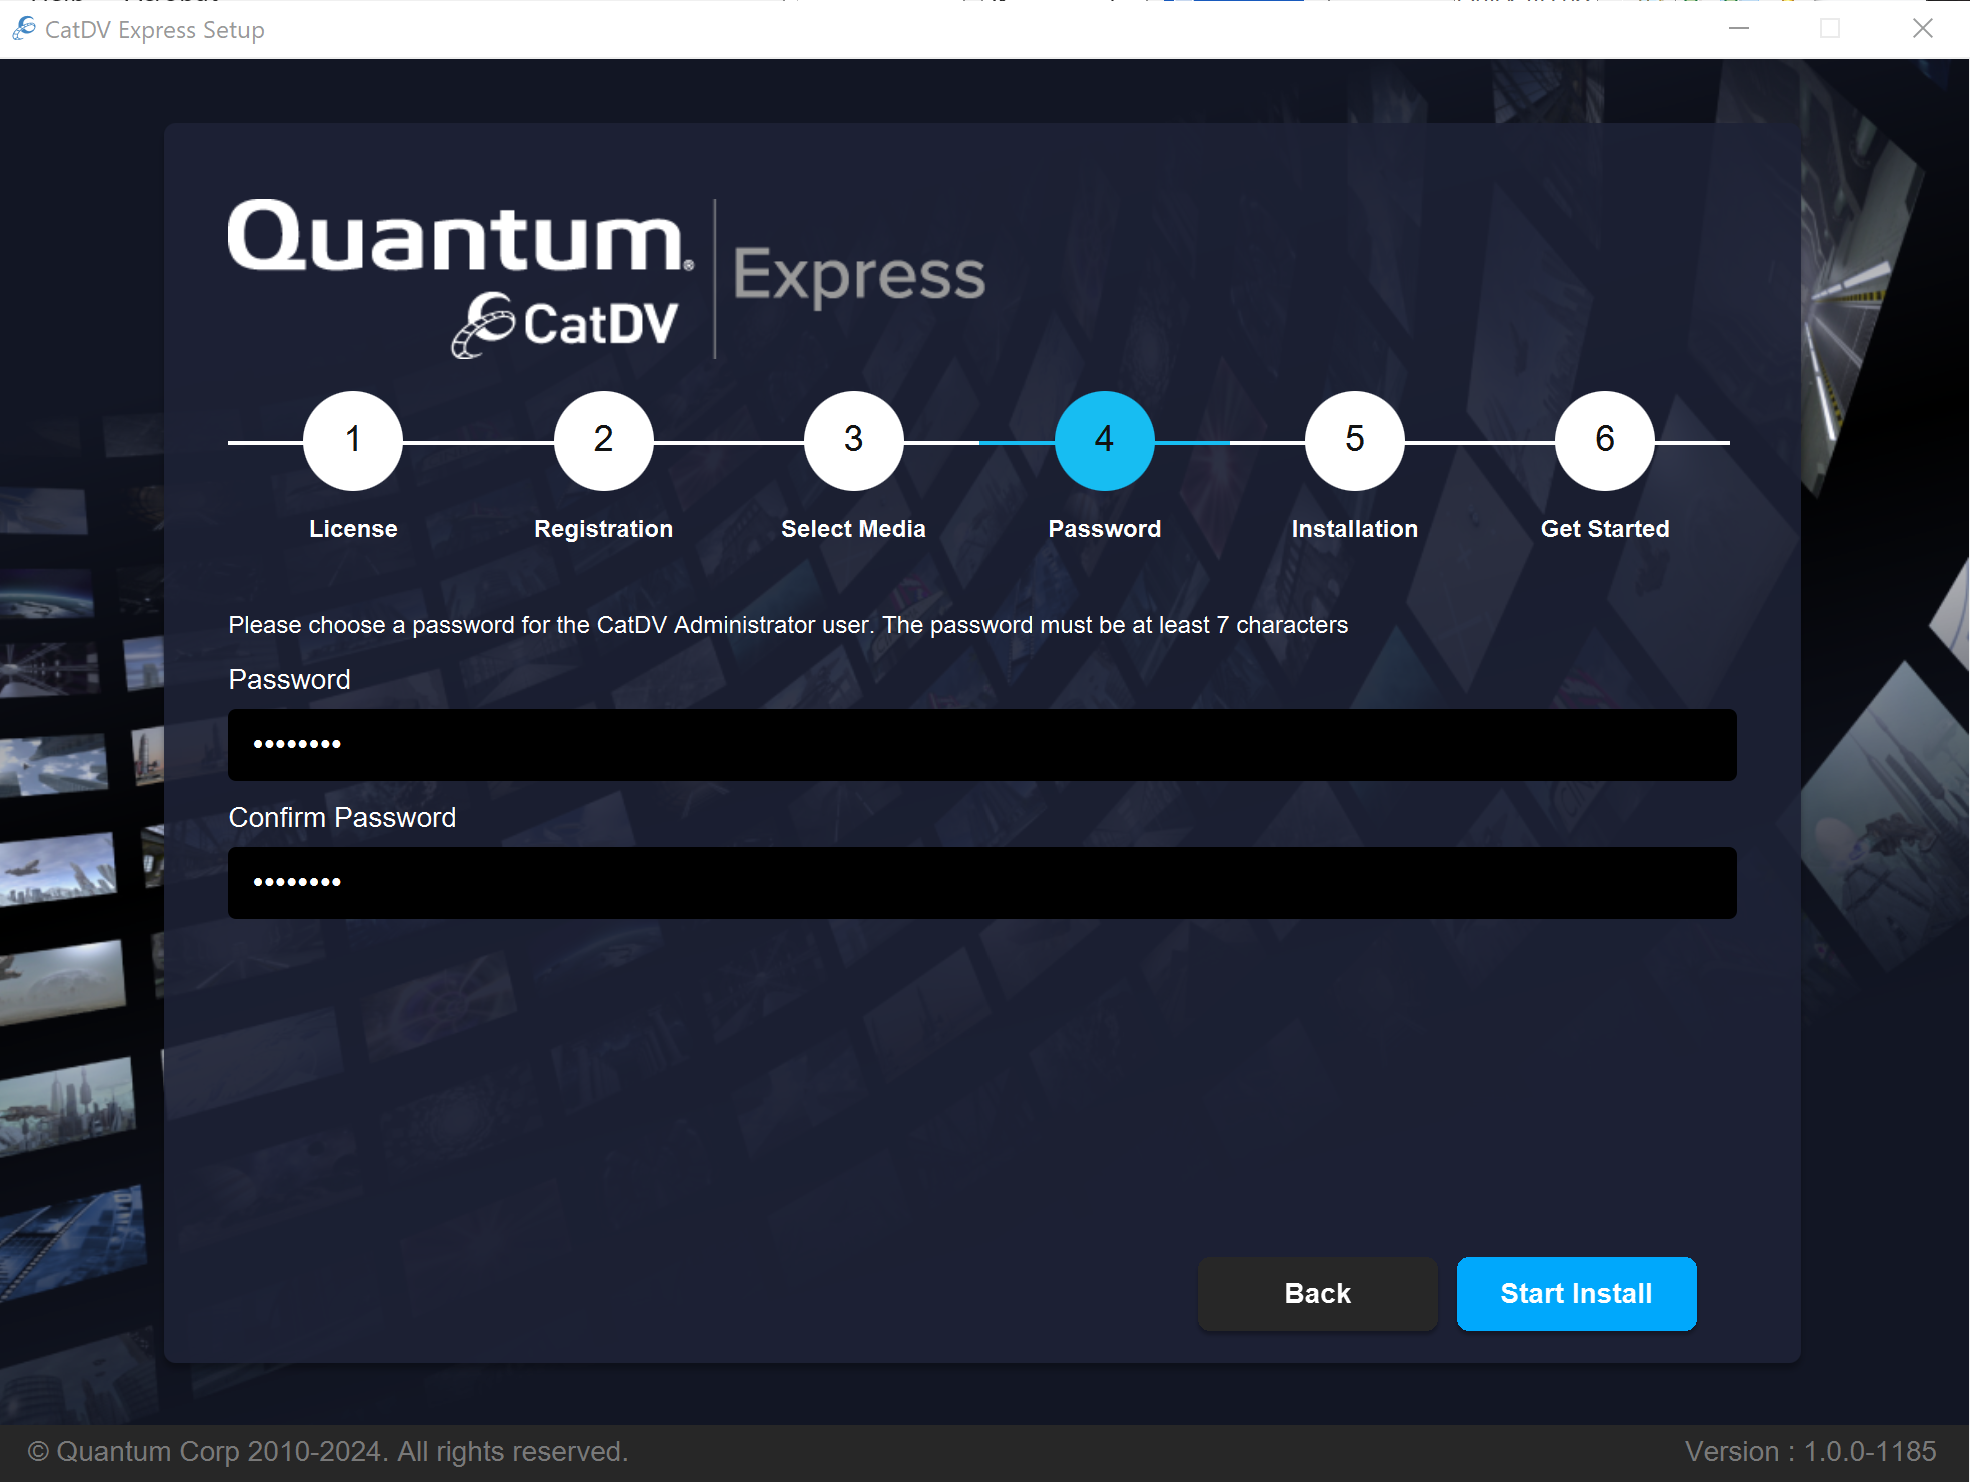
The password must meet minimum length requirements and the two entries must match.
Note: You will need this password to log in to the CatDV web interface.
Once you have chosen a password you can press Start Install to start the installation process.
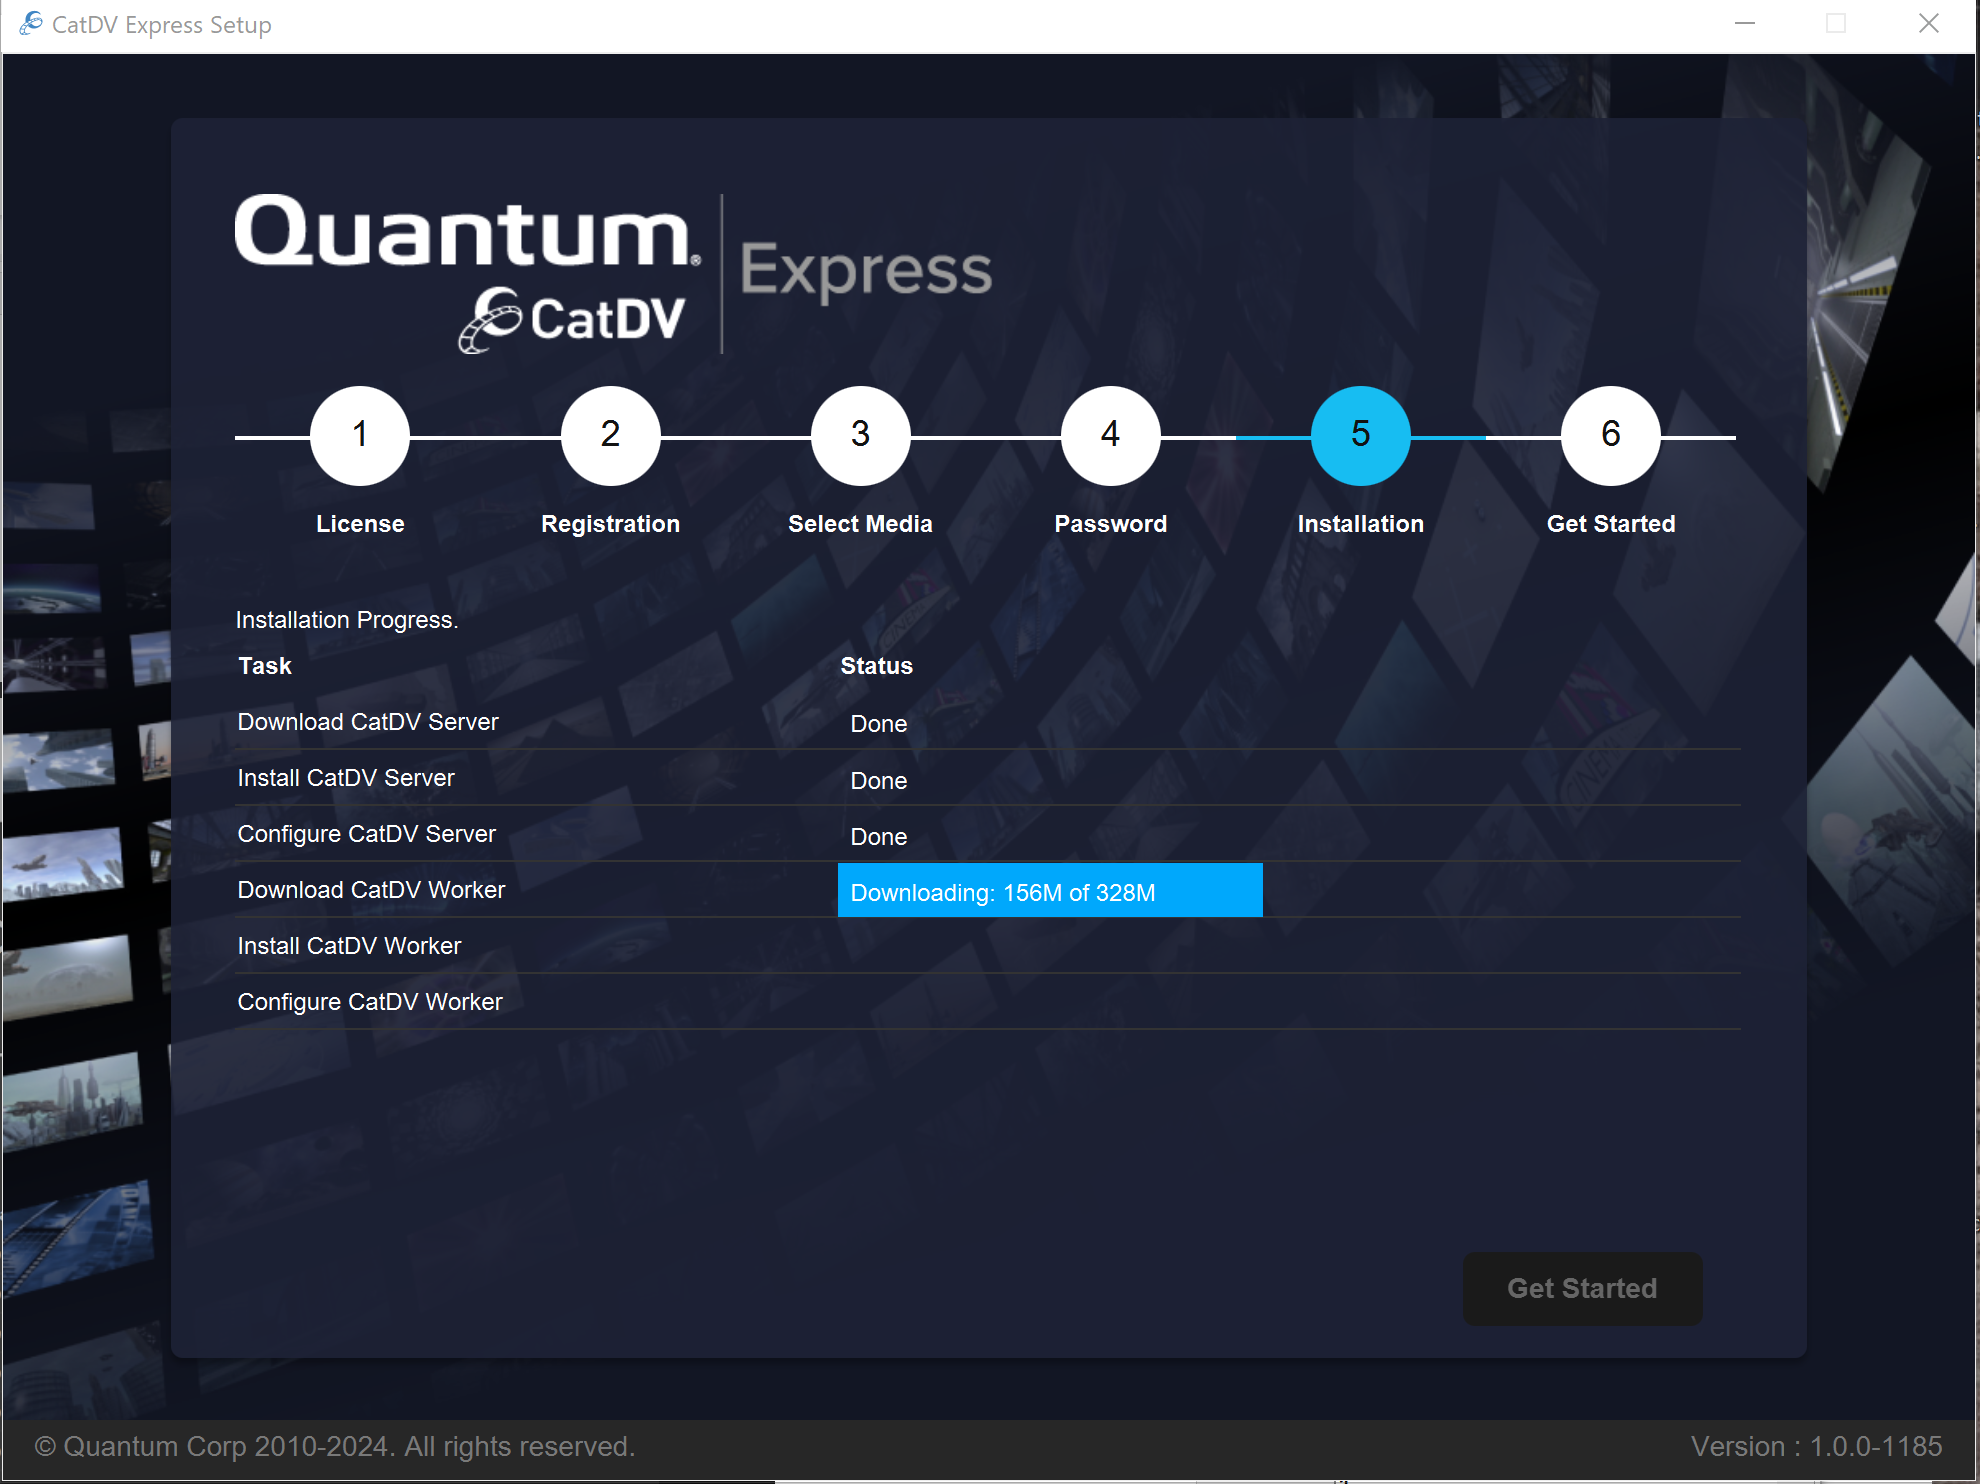
Step 5 – Installation
CatDV Express setup will now download, install and configure the latest CatDV Server and CatDV Worker products based on the information you have provided.
Step 6 – Getting Started
Before you can start using CatDV Express you may need to alter some settings on your computer. CatDV Express requires access to the media files on your computer in order to index them. Depending on how your system is set up, you may need to grant file access permissions to the two background services that CatDV Express installs (CatDV Server and CatDV Worker).
The ‘Getting Started’ page includes a link to the relevant section of the online documentation that describes how to set up your system. This information can also be found in the “Post Installation” section below.
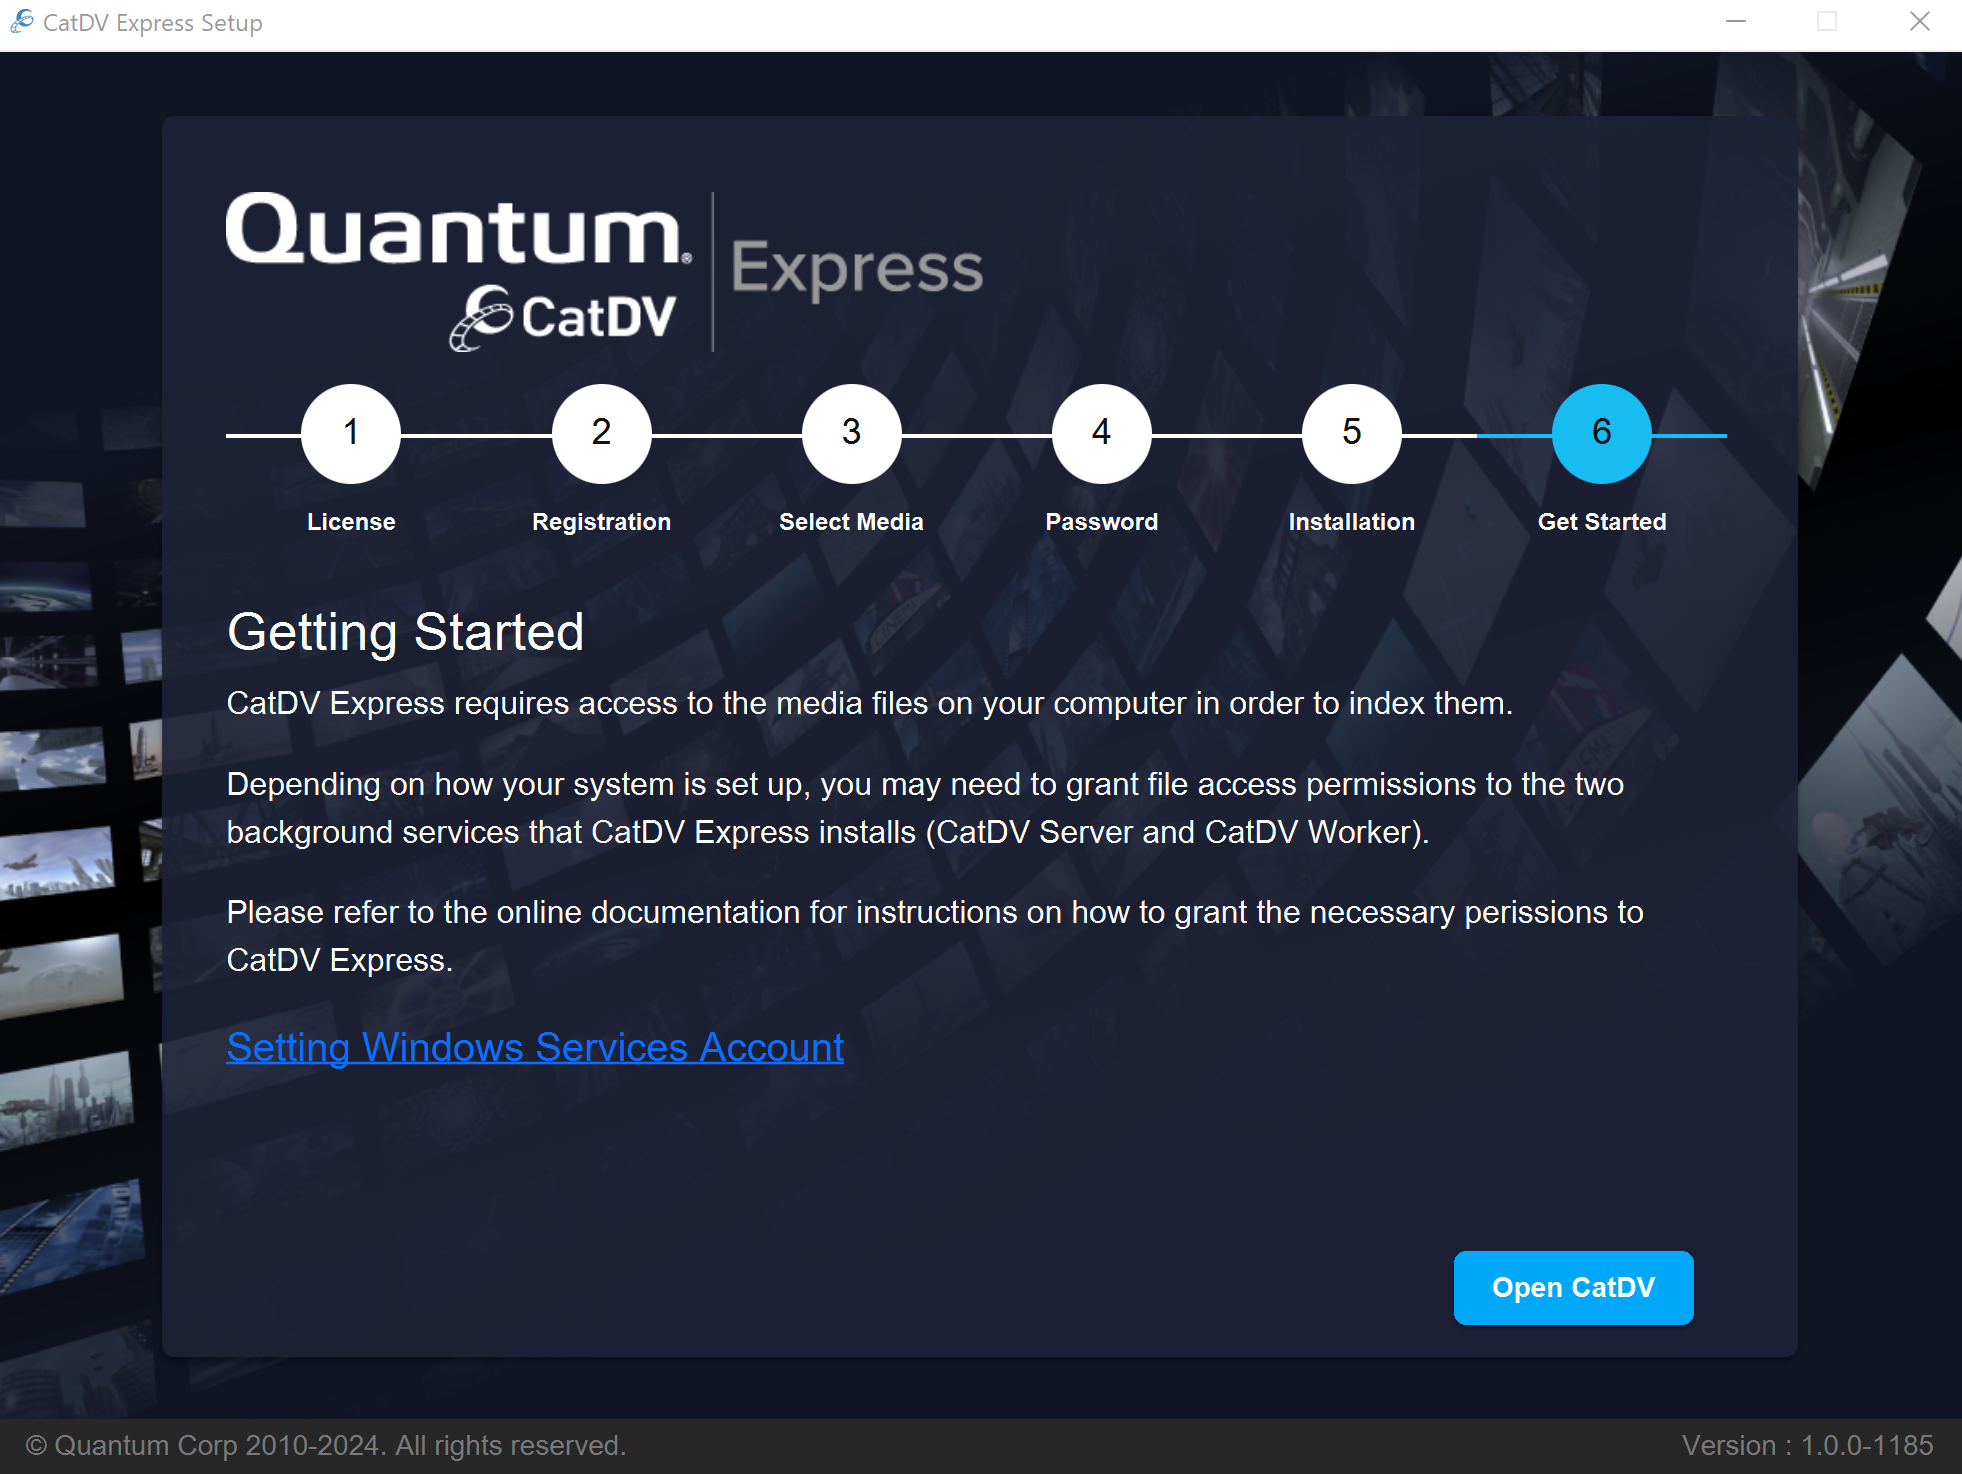
Once you have made any required changes press the ‘Open CatDV’ button. This will open a new web browser window and display the standard CatDV login page:
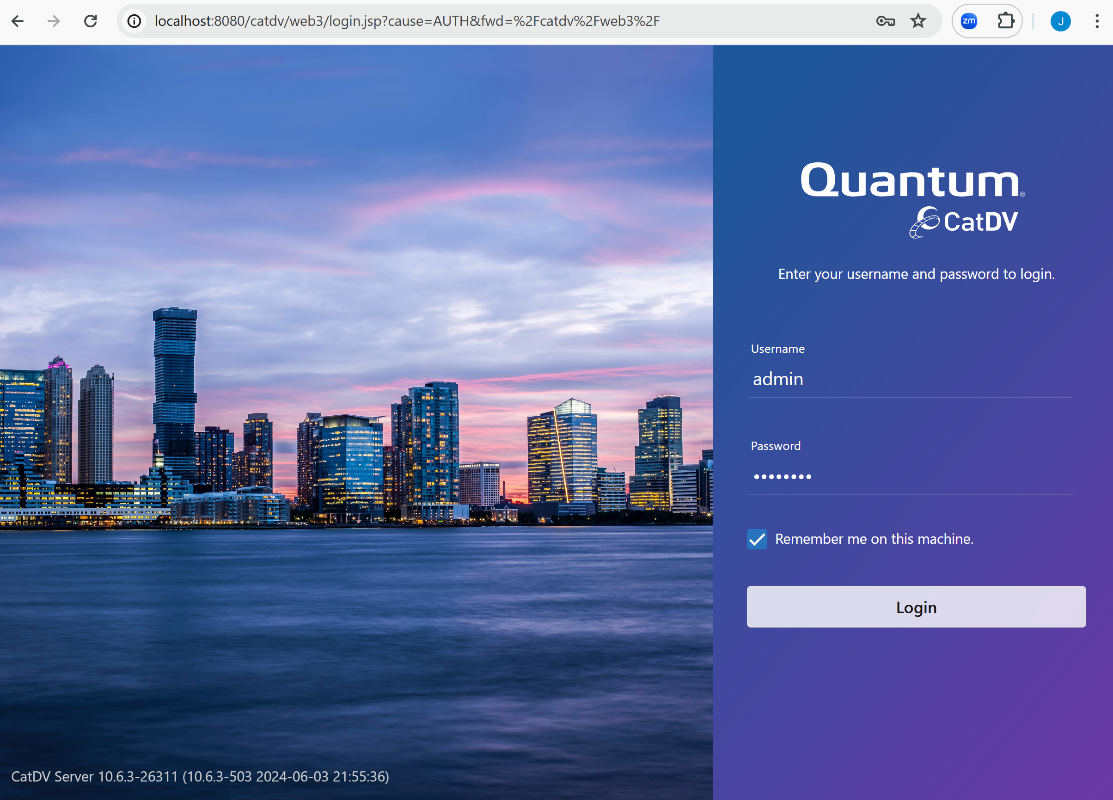
The username ‘admin’ should be pre-filled-in. You must enter the admin password that you chose earlier to log in to CatDV.